Introduction
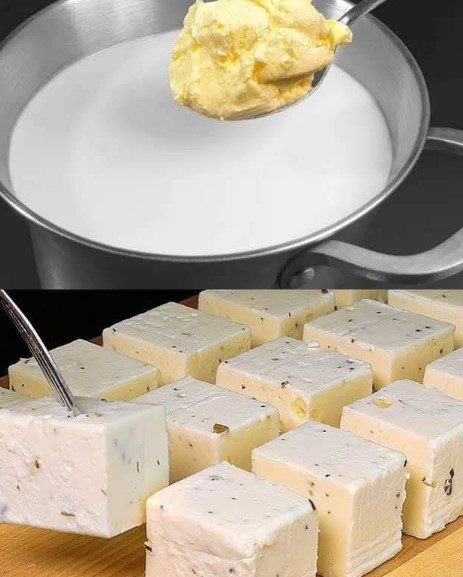
Making cheese at home is easier than you think! With just a few simple ingredients and some patience, you can create creamy, delicious homemade cheese that’s perfect for snacking, cooking, or adding to your favorite dishes.
Ingredients
- 1 gallon (4 liters) whole milk (preferably unpasteurized or pasteurized, but not ultra-pasteurized)
- 1/4 cup white vinegar or lemon juice
- 1 teaspoon salt (adjust to taste)
- Optional: Herbs or spices (e.g., garlic, parsley, chives, or pepper)
Equipment
- A large pot
- A thermometer (optional, for accuracy)
- Cheesecloth or a fine mesh strainer
- A colander
- A large mixing bowl
Preparation Tips
- Choose High-Quality Milk: Use fresh, whole milk for the best flavor and texture. Avoid ultra-pasteurized milk, as it may not curdle properly.
- Add Flavor: Customize your cheese by mixing in fresh herbs, spices, or even crushed nuts.
- Use a Thermometer: Maintain precise temperatures for consistent results.
Instructions
Step 1: Heat the Milk
- Pour the milk into a large pot and heat it over medium heat. Stir occasionally to prevent it from sticking or burning.
- Heat the milk to about 180°F (82°C). If you don’t have a thermometer, look for small bubbles forming around the edges and steam rising, but do not let it boil.
Step 2: Add Acid
- Once the milk reaches the desired temperature, remove it from the heat.
- Slowly stir in the vinegar or lemon juice, a little at a time. You’ll notice the milk curdling and separating into curds (solid) and whey (liquid).
- Let the mixture sit for 10-15 minutes to allow full curdling.
Step 3: Strain the Curds
- Line a colander with cheesecloth or a fine mesh strainer and place it over a large bowl to catch the whey.
- Carefully pour the curdled milk into the colander. Let the whey drain for 5-10 minutes.
Step 4: Season and Shape the Cheese
- Sprinkle the salt over the curds and mix gently. Add any optional herbs or spices at this stage.
- Gather the cheesecloth edges and gently squeeze out excess whey, shaping the cheese into a ball or disc.
Step 5: Chill the Cheese
- Place the wrapped cheese in the refrigerator for at least 1-2 hours to firm up.
- Once chilled, unwrap and serve or store in an airtight container.
Description
This Homemade Cheese is fresh, creamy, and versatile. It can be crumbled over salads, spread on bread, or enjoyed as a snack. The mild flavor makes it an excellent base for a variety of dishes.
Nutritional Information (Per Serving, Based on 8 Servings)
- Calories: 110
- Protein: 7g
- Carbohydrates: 2g
- Fat: 8g
- Saturated Fat: 5g
- Sodium: 180mg
- Calcium: 20% of Daily Value
Frequently Asked Questions (FAQs)
1. What can I do with the leftover whey?
Whey is highly nutritious! Use it in smoothies, soups, bread dough, or as a natural fertilizer for plants.
2. Can I use other types of milk?
Yes, goat milk or sheep milk work well. Avoid non-dairy milk, as it doesn’t curdle the same way.
3. How long does homemade cheese last?
Store in an airtight container in the refrigerator for up to 5 days.
4. Can I make this cheese firmer?
For a firmer texture, press the cheese under a weight (like a heavy plate) for an additional 1-2 hours.
5. Can I make this cheese lactose-free?
Use lactose-free milk, and ensure your vinegar or lemon juice is also suitable for a lactose-free diet.
Recommendations
- Serve Fresh: Enjoy with crackers, fresh bread, or sliced vegetables.
- Pair with Wine: Serve with a light white wine or a sparkling beverage for a delightful pairing.
- Experiment with Flavors: Try adding crushed garlic, sun-dried tomatoes, or chili flakes for unique variations.
Conclusion
This Homemade Cheese Recipe is a simple and satisfying way to create fresh cheese in your kitchen. Whether you enjoy it plain or with added flavors, it’s a versatile recipe that you’ll want to make again and again. Enjoy!

