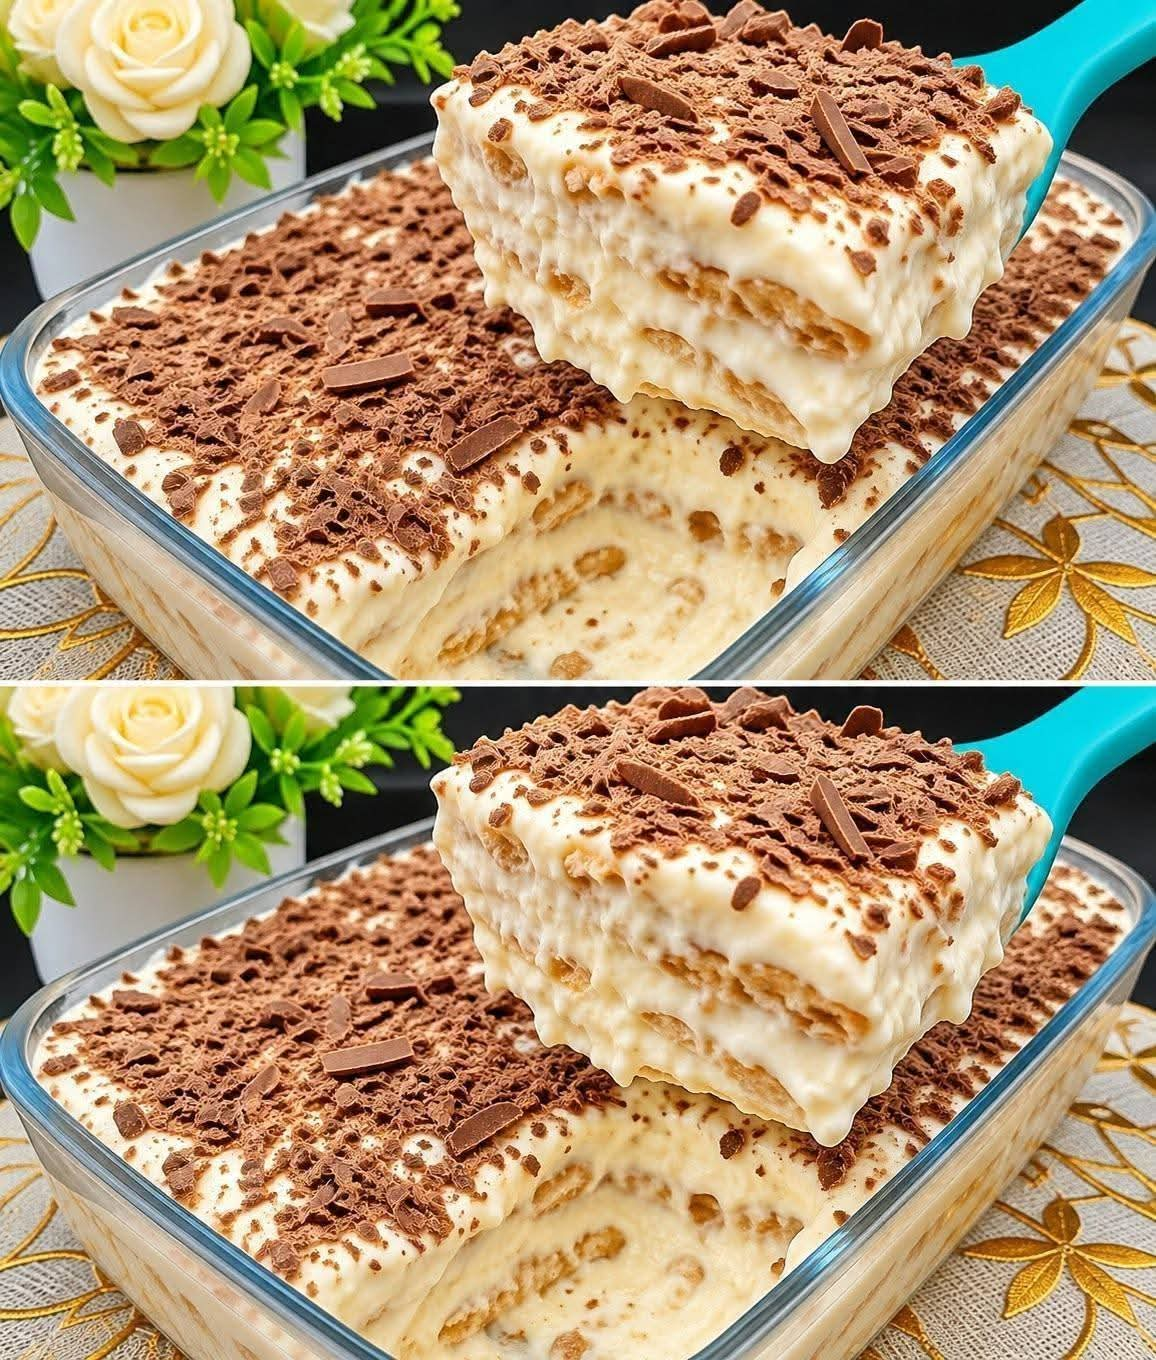

🍫 No-Bake Creamy Chocolate Biscuit Dessert – The Ultimate Easy Dessert!If you’re looking for a delicious, creamy, and incredibly easy dessert that requires no oven, this No-Bake Creamy Chocolate Biscuit Dessert is exactly what you need! Made with layers of soft milk-soaked biscuits and a rich, fluffy vanilla cream filling, then finished with a generous topping of chocolate shavings, every bite is smooth, sweet, and absolutely irresistible.This dessert is perfect for family gatherings, holidays, birthday parties, or whenever you’re craving something sweet. The best part? You only need a few simple ingredients, and your refrigerator does most of the work!IngredientsFor the Biscuit Layers:- 2 packs (approximately 14 oz) tea biscuits or Maria biscuits- 1½ cups whole milk, for dipping- 1 teaspoon vanilla extractFor the Creamy Filling:- 2 cups cold heavy whipping cream- 1 can (14 oz) sweetened condensed milk- 8 oz cream cheese, softened to room temperature- 1 teaspoon pure vanilla extract- 2 tablespoons powdered sugar (optional)For the Chocolate Topping:- ½ cup finely grated milk or dark chocolate- 2 tablespoons unsweetened cocoa powder- Chocolate curls or small chocolate pieces for decorationInstructionsStep 1: Prepare the Cream Cheese MixtureStart by placing the softened cream cheese in a large mixing bowl. Using an electric hand mixer, beat it for about 2–3 minutes until it becomes completely smooth, creamy, and free of lumps.Gradually pour in the sweetened condensed milk while continuing to mix on medium speed. Add the vanilla extract and powdered sugar if desired. Beat everything together until the mixture becomes silky, thick, and well combined.Step 2: Whip the Heavy CreamIn another clean, chilled mixing bowl, pour in the cold heavy whipping cream. Beat with an electric mixer until stiff peaks form. This usually takes about 3–5 minutes, depending on your mixer.Be careful not to overbeat the cream, as you want it light, fluffy, and smooth.Step 3: Combine the Cream FillingGently fold the whipped cream into the cream cheese mixture using a spatula. Add it in two or three batches, folding slowly until everything is fully incorporated.Avoid mixing too aggressively because keeping the mixture airy will give your dessert a wonderfully soft and fluffy texture.Step 4: Prepare the BiscuitsPour the milk into a shallow bowl and stir in the vanilla extract.Take each biscuit and quickly dip it into the milk. Make sure both sides are lightly coated, but do not leave them soaking because they can become too soft and break apart.Step 5: Start Assembling the DessertChoose a rectangular glass baking dish, approximately 9 x 13 inches.Arrange the milk-dipped biscuits in a single layer across the bottom of the dish. Break a few biscuits into smaller pieces if necessary to fill any empty spaces.Spread a generous amount of the creamy filling over the biscuit layer. Use a spatula to smooth the surface evenly, making sure the cream reaches the edges.Step 6: Repeat the LayersAdd another layer of milk-dipped biscuits over the cream filling.Continue alternating between the biscuit layers and the creamy filling until all the ingredients are used.Make sure to finish with a thick, smooth layer of the cream mixture on top. Spread it evenly with a spatula for a beautiful finish.Step 7: Add the Chocolate ToppingLightly dust the entire surface with unsweetened cocoa powder.Next, sprinkle the grated chocolate generously over the top. Add chocolate curls or small chocolate pieces for extra decoration and a richer chocolate flavor.For an extra-special presentation, you can add a little more chocolate just before serving.Step 8: Refrigerate Until Perfectly SetCover the baking dish tightly with plastic wrap or a lid.Place it in the refrigerator for at least 6 hours. For the best results, leave it overnight.During this time, the biscuits will absorb some of the moisture from the cream, becoming soft and cake-like, while the creamy filling will firm up beautifully.Step 9: Slice and ServeOnce chilled, remove the dessert from the refrigerator.Use a sharp knife to cut it into neat squares. Carefully lift each serving with a spatula to reveal the beautiful layers of soft biscuits and creamy filling.Serve cold and enjoy every delicious bite!Helpful Tips for the Best Results- Always use cold heavy whipping cream to achieve the best volume.- Make sure the cream cheese is softened before mixing to prevent lumps.- Dip the biscuits quickly into the milk to prevent them from becoming soggy.- Allow enough refrigeration time so the dessert holds its shape when sliced.- Use dark chocolate if you prefer a less sweet topping.- For extra flavor, add a thin layer of chocolate ganache between the biscuit layers.Storage InstructionsKeep the dessert covered in an airtight container in the refrigerator for up to 4 days.You can also freeze individual portions in airtight containers for up to 1 month. Thaw them in the refrigerator before serving.Final ThoughtsThis No-Bake Creamy Chocolate Biscuit Dessert is proof that you don’t need an oven or complicated ingredients to make something truly special. With its soft biscuit layers, fluffy vanilla cream, and delicious chocolate topping, it’s a guaranteed crowd-pleaser!Make it once, and your family will ask you to make it again and again. ❤️🍫
No Bake Creamy Chocolate Biscuit Dessert